Solar Panel Installation Tips for Beginners
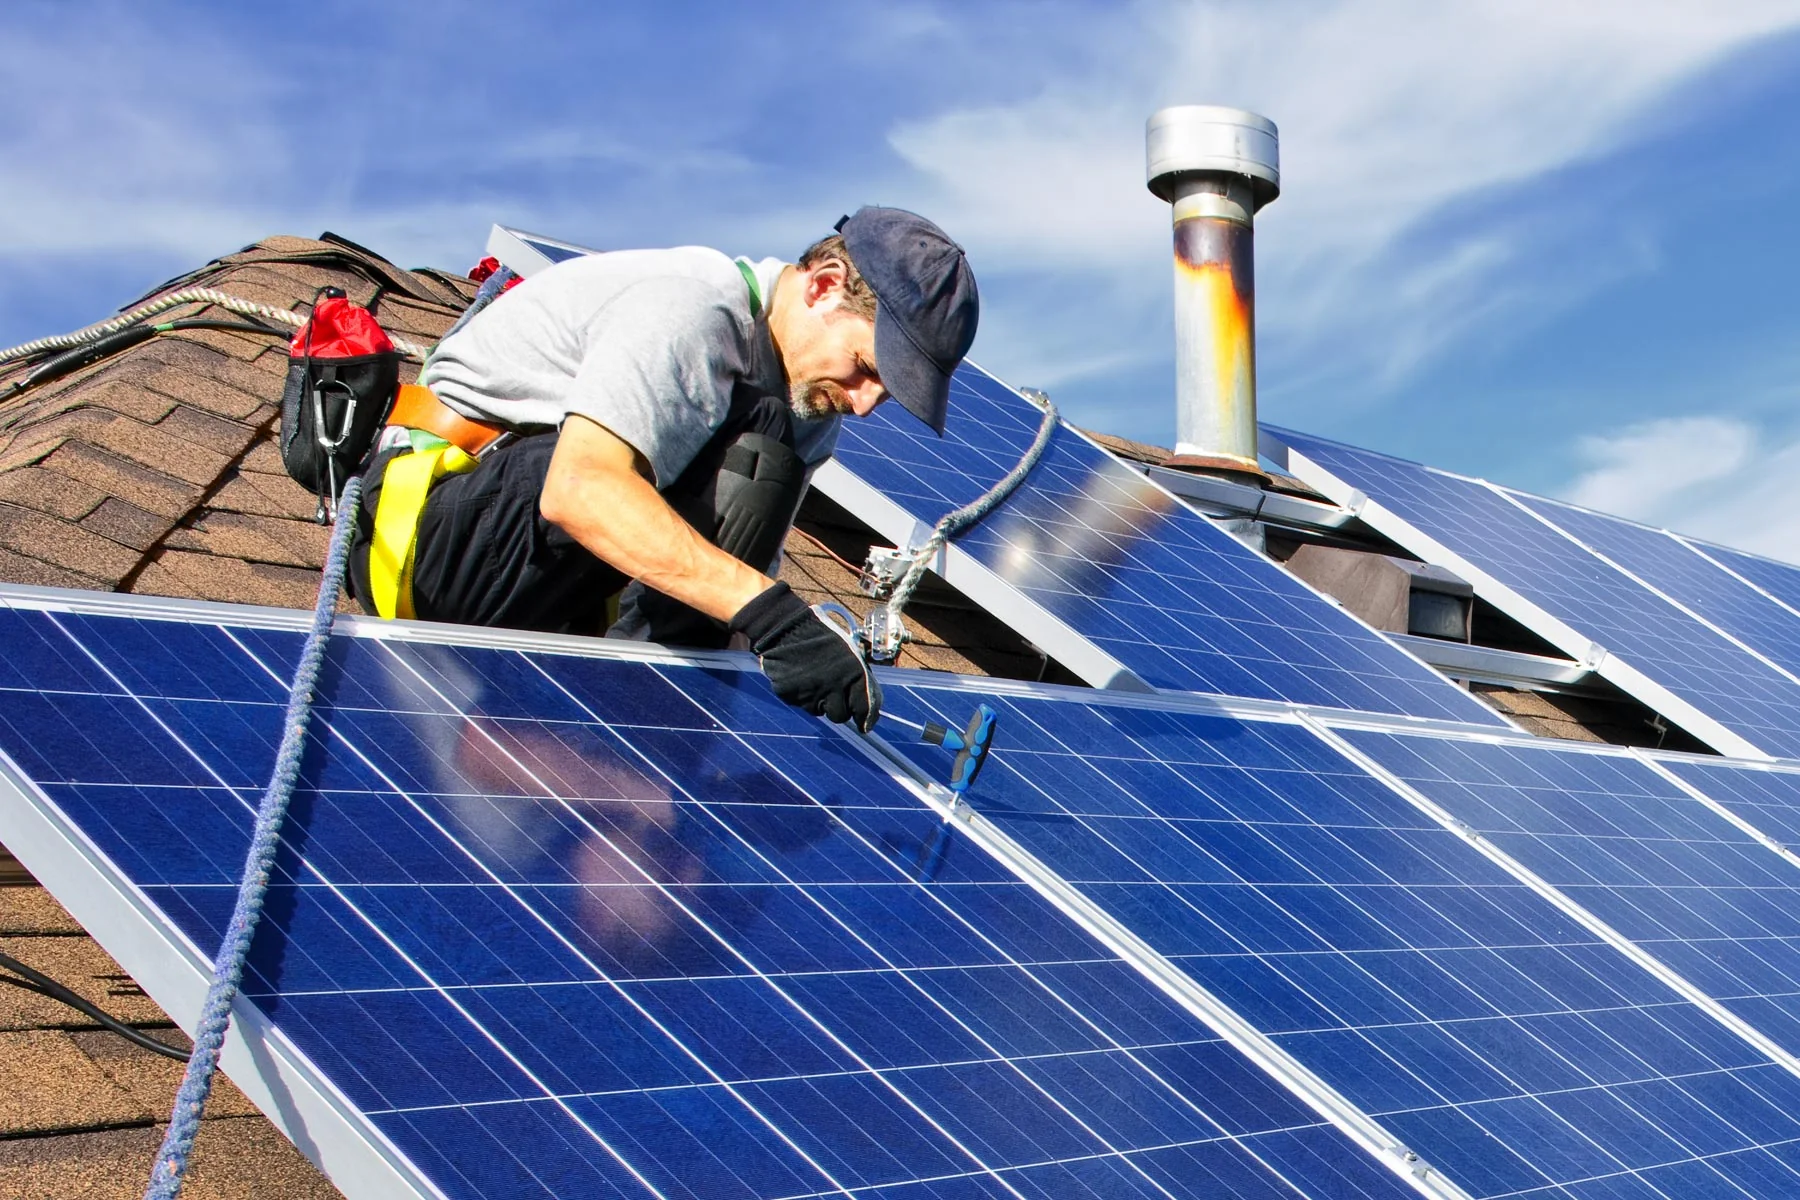
Installing solar panels is an exciting way to embrace renewable energy and reduce your electricity bills. Whether you’re a homeowner looking to go green or just want to save money, learning how to install solar panels can be a valuable skill. While professional installation is recommended for most, many DIY enthusiasts are opting to take on solar panel installation themselves. If you’re a beginner and want to get started with solar panel installation, these essential tips will guide you through the process.
For more solar products and pricing, visit SolarsPrice.com to explore options tailored to your needs.
1. Understand How Solar Panels Work
Before diving into the installation process, it’s important to have a basic understanding of how solar panels work. Solar panels convert sunlight into electricity by using photovoltaic (PV) cells. These cells capture sunlight and generate direct current (DC) electricity, which is then converted to alternating current (AC) by an inverter. AC is the type of electricity that powers your home appliances.
Solar systems typically consist of:
- Solar Panels: These capture sunlight and generate electricity.
- Inverter: This converts the DC electricity produced by the panels into AC power.
- Mounting System: Ensures the solar panels are securely fixed to your roof or ground installation.
- Electrical Wiring: Connects the panels, inverter, and your home’s electrical system.
Understanding these basics will help you when setting up your system.
2. Assess Your Roof or Ground Space
The first step in your installation journey is to determine where you will place the solar panels. Most people install them on their roofs, but ground installations are also possible if you have ample open space. To choose the right location, consider the following:
- Sunlight Exposure: Solar panels need direct sunlight to work efficiently. Make sure your roof or yard receives plenty of sunlight throughout the day, especially during peak hours (typically between 10 a.m. and 4 p.m.).
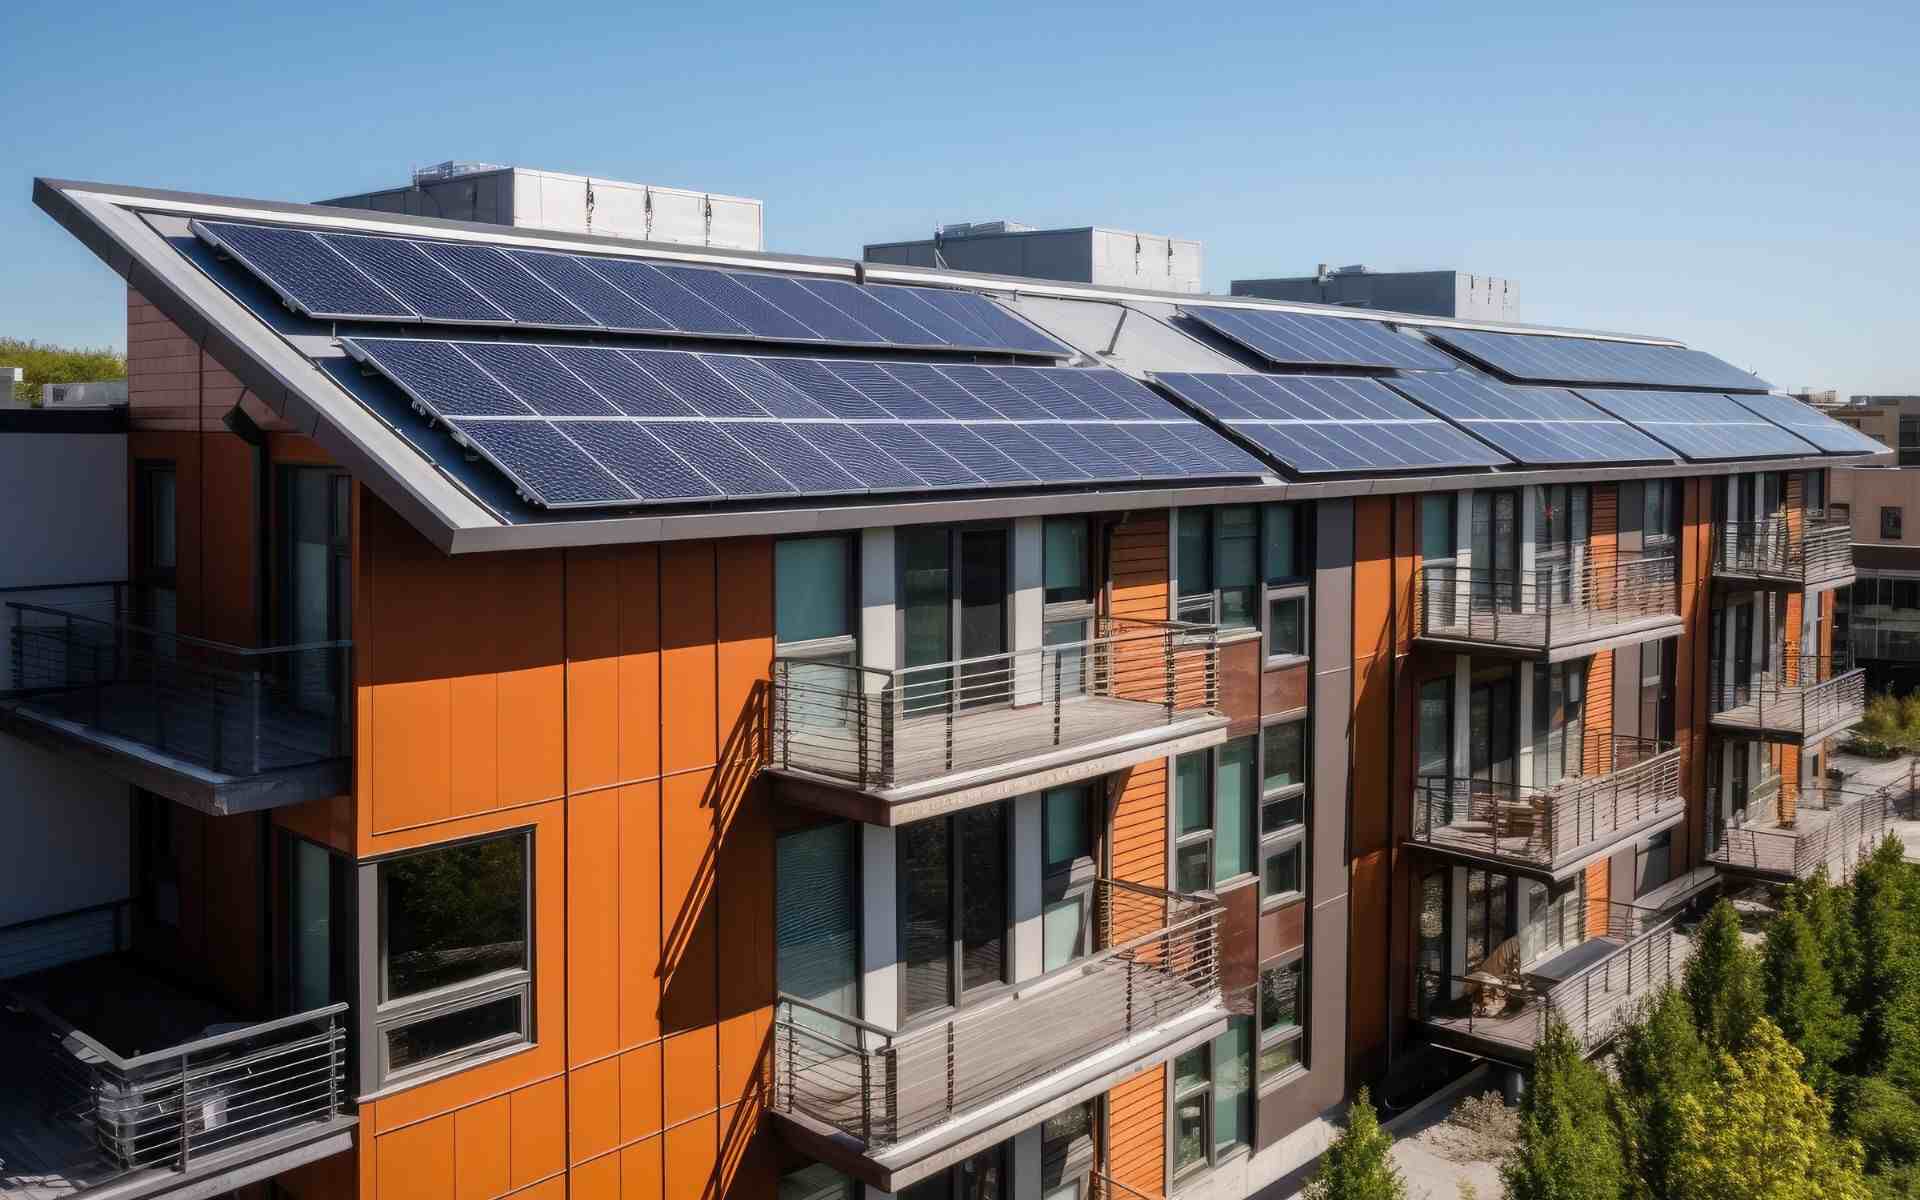
- Roof Condition: If you’re installing panels on your roof, ensure that it’s in good condition. The roof should be strong enough to hold the weight of the panels and should not need repairs in the near future.
- Angle and Direction: The optimal angle for solar panels depends on your geographic location. In most areas, the panels should face south at an angle that maximizes exposure to sunlight. You can use online tools or consult an expert to determine the best angle for your installation.
3. Calculate Your Energy Needs
Before purchasing solar panels, calculate how much energy your household consumes and how much of that you want to offset with solar energy. Look at your monthly electricity bill to see your average energy usage in kilowatt-hours (kWh). This will help you determine how many solar panels you need.
For example, if your home uses 900 kWh per month and you want to cover 50% of that with solar, you’ll need a solar system that produces at least 450 kWh each month. This is crucial for sizing your solar array correctly.
4. Choose the Right Solar Panels
There are many different types of solar panels available on the market, and choosing the right one is essential for maximizing your system’s efficiency. Some common types include:
- Monocrystalline Panels: These are known for their high efficiency and sleek appearance. They’re typically more expensive but take up less space.
- Polycrystalline Panels: These are more affordable but less efficient than monocrystalline panels. They require more space to produce the same amount of energy.
- Thin-Film Panels: These are lightweight and flexible but less efficient and more suited for non-traditional installations.
For beginners, monocrystalline or polycrystalline panels are usually the best options. You can find a variety of solar panel brands and models on SolarsPrice.com, where you can compare features and prices.
5. Obtain Necessary Permits
Before installing solar panels, check with your local government to see if you need any permits. Building and electrical permits are often required to ensure that your system meets local safety and building codes. You may also need approval from your utility company, as you will be connecting your solar system to the grid.
Permits might take a few weeks to process, so plan accordingly to avoid delays.
6. Set Up the Mounting System
The next step is to set up the mounting system that will hold your solar panels in place. For roof installations, mounting racks are typically attached directly to the roof’s surface. Ground-mounted systems use a frame or pole to hold the panels securely in place.
- Roof Installation: Ensure that the mounting brackets are firmly attached to the roof beams for stability. Flashing should be used to prevent leaks.
- Ground Installation: Secure the mounting structure into the ground using concrete or another sturdy foundation. Ground installations are more flexible and easier to maintain but require more space.
Make sure that the mounting system is level and oriented correctly for maximum sun exposure.
7. Install the Solar Panels
Once the mounting system is in place, you can install the solar panels. Follow these steps:
- Position the Panels: Place the panels on the mounting system and ensure they are properly aligned.
- Secure the Panels: Use clamps or fasteners to hold the panels in place. Make sure they are securely attached to avoid movement during harsh weather.
- Connect the Panels: Use the electrical wiring to connect the solar panels to the inverter. Ensure that the wiring is done safely and correctly.
It’s recommended to work with a licensed electrician or solar installer for this step, especially if you’re not experienced with electrical work.
8. Install the Inverter
The inverter is a crucial component that converts the DC electricity produced by the solar panels into AC power that can be used in your home. There are two main types of inverters:
- String Inverters: These connect multiple solar panels in a series, and any shading or damage to one panel affects the entire system.
- Microinverters: These are installed on each individual panel, allowing each panel to work independently. This type is more efficient, especially in areas with partial shading.
Once you’ve chosen the inverter type, install it near your main electrical panel for easy access. Connect the inverter to the solar panels and the home’s electrical system.
9. Connect to the Grid or Battery Storage
After installing the inverter, you’ll need to connect your system to the grid or a battery storage system (if applicable). If you’re connecting to the grid, your utility company may need to inspect and approve the system before you can start using it. Grid-tied systems allow you to sell excess energy back to the utility company through net metering.
If you’re using battery storage, connect the inverter to the battery bank, allowing you to store excess energy for later use.
10. Test the System
Once the installation is complete, it’s time to test your solar system. Turn on the inverter and check if the solar panels are producing electricity. Monitor the system over a few days to ensure it’s working efficiently.
You can use monitoring software or apps to track your system’s performance and see how much energy you’re generating and using.
Conclusion
Installing solar panels is a rewarding project that offers long-term benefits for your home and the environment. By following these beginner-friendly tips, you can set up a solar system that reduces your electricity costs and carbon footprint. While solar panel installation requires planning and attention to detail, it’s a worthwhile investment in a sustainable future.
For more guidance on choosing the right solar products, including affordable solar panels and installation kits, visit SolarsPrice.com. Solar energy is a smart and eco-friendly choice for powering your home efficiently!
